Description of the dental implant procedure
This is not a step-by-step instruction, but a good addition to the medical school training courses. In this article, we will touch upon the important points in the implant installation process, which are rarely covered during training. For example, we will analyze how to use different drills with different types of bone and what the features of achieving primary stability with the desired parameters are. Therefore, we will not dwell on the collection of anamnesis and preliminary treatment of concomitant diseases, or on the sanitary preparation of the operating room.
Infection control and anesthesia before surgery
Let’s start with assistants, even an experienced surgeon is recommended to work with two assistants. One of whom must undergo the same sterilization procedures as the doctor. The second assistant helps with lighting equipment and other manipulations in the non-sterile area.
Let’s recap what is included in the preparation of the patient for surgery:
- Rinsing the mouth with a solution of chlorhexidine 0.2% for 1 minute.
- Disinfection of the skin around the mouth and lips with an alcohol solution.
- Medical prevention- antibiotics – 2g amoxiclav or augmentin 825/125 amoxicillin trihydrate 825 mg + clavulanic acid 125 mg. Single dose 2 hours before surgery. In addition, in difficult cases, it is recommended to take non-steroidal anti-inflammatory drugs, for example, ibuprofen 400-600 mg one hour before surgery. This will reduce pain after the local anesthesia wears off.
The operation to install dental implants is performed under local (infiltration) anesthesia. The main task is to create a drug depot in the desired area to stop the sensitivity of nerve fibers.
Incision and flap formation
Next, you need to gain access to the alveolar ridge, for which you need to make an incision and form a flap. It is better to start the practice with simple options as in the photo below. Cut along the top of the ridge and carefully peel off.
The technique of flapless operations, when a round hole is cut for an implant in soft tissues, is recommended to be mastered when the doctor already has experience of several tens, and preferably hundreds of successful implantations using the classical method.
Formation of a bed for an implant
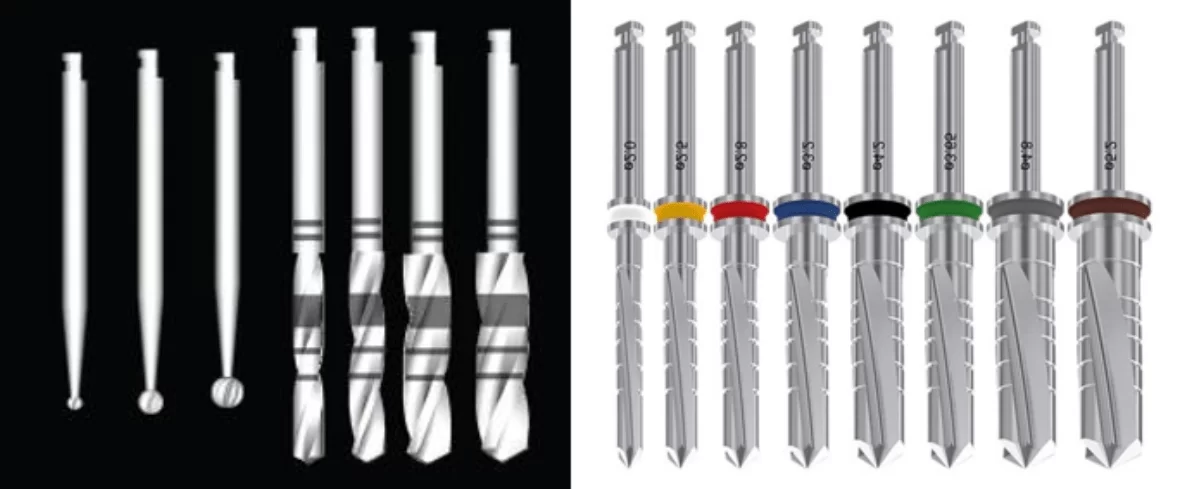
When access to the bone is obtained, we proceed to the formation of a hole for the implant. There are several popular protocols recommended by manufacturers of implants and drill sets for their placement. One of the best to start a career is the sequence from Straumann.
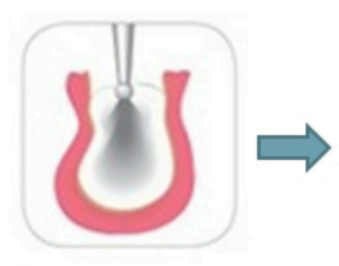
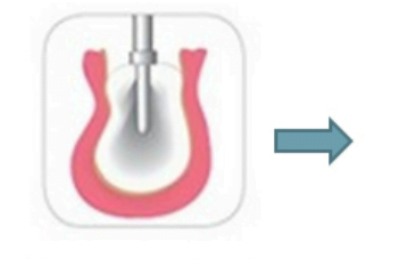
Although this protocol involves the use of a ball-shaped bur at the start, and this is far from being available in all kits, it can be purchased separately. A ball-shaped bur is needed to start to make a recess and go through the top layer (cortical bone). It’s only 1-2 mm until the spongy bone is reached.
It is the easiest way to mark the position of the implant bed with minimal risk of the drill slipping. The passage of the cortical bone with a spherical drill is done at high speeds of 1000-15000 rpm, with abundant irrigation, and then the temperature of the surrounding tissues will not have time to rise significantly, especially since when the hole expands, the bone tissues closest to the starting recess will be removed.
It is better to store saline for irrigation in refrigerators and get it immediately before the procedure.
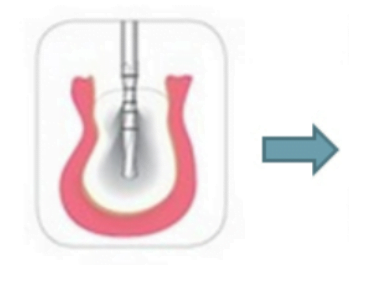
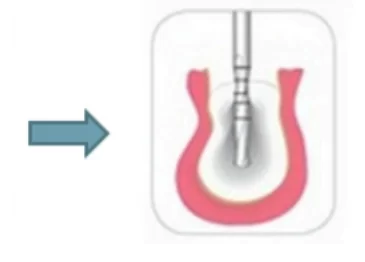
As the cutter diameter increases, the RPM should decrease. If pilot cutters with a diameter of up to 3 mm, which form the direction and depth of the bed, can operate at a speed of 800-1000 rpm, then expanding cutters should operate at not more than 400-600 rpm. In each case there should be abundant irrigation.
We also remind you that pilot drills should be replaced with new ones after about 50 times of use. After all, the wear of the cutting edge leads to the fact that the drilling process slows down, and the temperature of the surrounding tissues rises. Of course, irrigation will most likely not allow you to exceed the critical level, but it is better not to risk it.
As for the material from which burs and cutters are made, they show almost the same results in terms of drilling quality. Ceramic cutters, however, have an advantage that is not obvious. In the process of drilling, micro-particles and metal fragments are separated from the cutting edge; it does not matter if it is titanium oxide or tungsten carbide. In rare cases they can cause an allergic reaction, which is accompanied by inflammation. Micro-particles of zirconium dioxide, from which ceramic drills are made, are completely biologically compatible and never cause negative reactions.
One of the most popular stock formation sequences is shown in the table below.
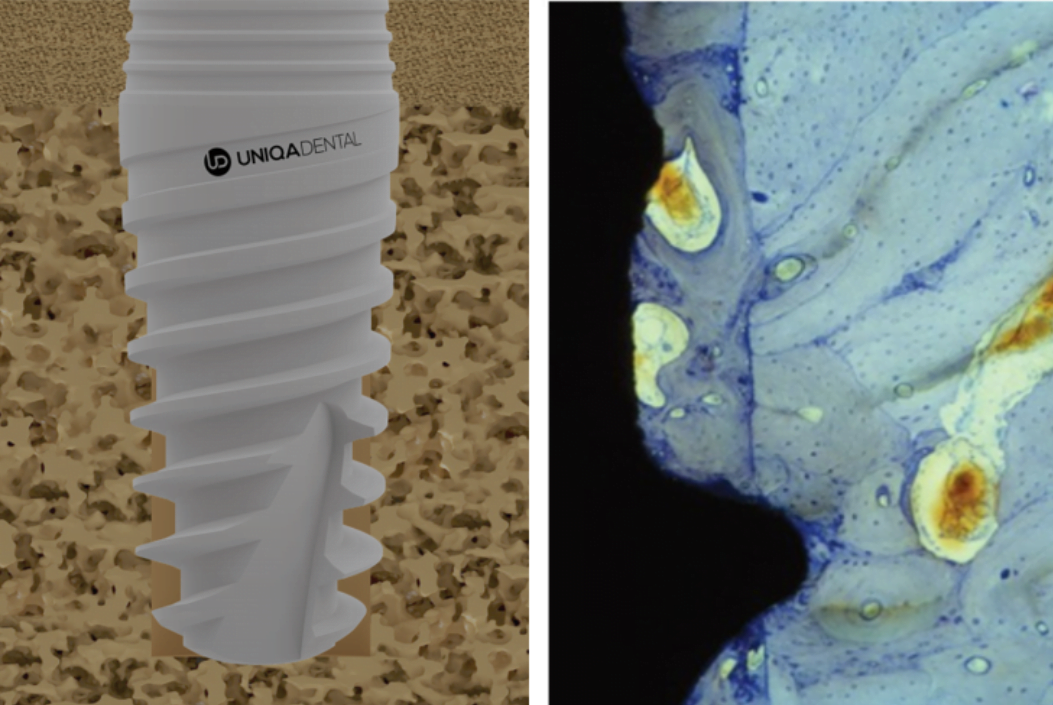
However, if the implant needs to be installed in a “soft” bone type D3-D4, then expanding cutters are not needed. When installing an implant, it is important to obtain primary stability, and it is achieved due to the tips of the thread of the implant itself, which are immersed in the bone tissue. In the case of loose bone, the implant will thread itself into the cancellous bone. For example, UNIQA Dental dental implants have an aggressive thread profile at the bottom specifically to provide good primary stability. The space between the implant and the bone is filled with blood vessels and it is there that the new bone grows. Bone contact with the implant surface between the threads provides secondary stability, see illustration below.
If you expand the bed with cutters, then it will be problematic to get primary stability with a torque of even 10-15 Ncm. It is worth mentioning that there are quite a few clinical cases in which the implant was placed in the hole almost by hand and at the same time successful integration took place. However, standard protocols recommend achieving the highest possible primary stability of the implant (within 25-35 Ncm), because there is always a risk that the implant may be dislodged and therefore not integrate properly.
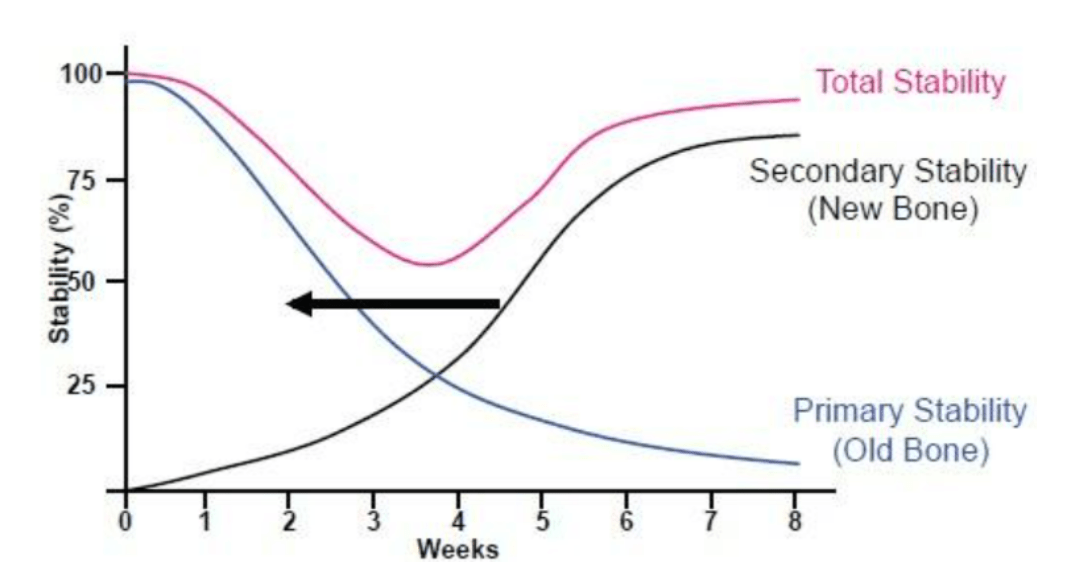
The change in the influence of primary and secondary stability on the overall stability of a dental implant can be seen in the graph below.
If we look at the blue line (primary stability), we will see that it is decisive in the first days after implantation, although it begins to decrease markedly by the end of the first week. It noticeably reduces its influence by the 4th week, where a certain equilibrium point is observed in which the primary and secondary stability have the same effect and the primary stability ceases to influence completely by the 8th week. If at the time of installation the primary stability is extremely low, then there will be a failure in stability. In such cases, a plug is placed in the implant and completely closed with the gum and opened to install the gum shaper after 2-3 weeks.
It is convenient to illustrate the topic with the choice of cutters for different types of bone based on the guide from BioHorisons, see the table below.
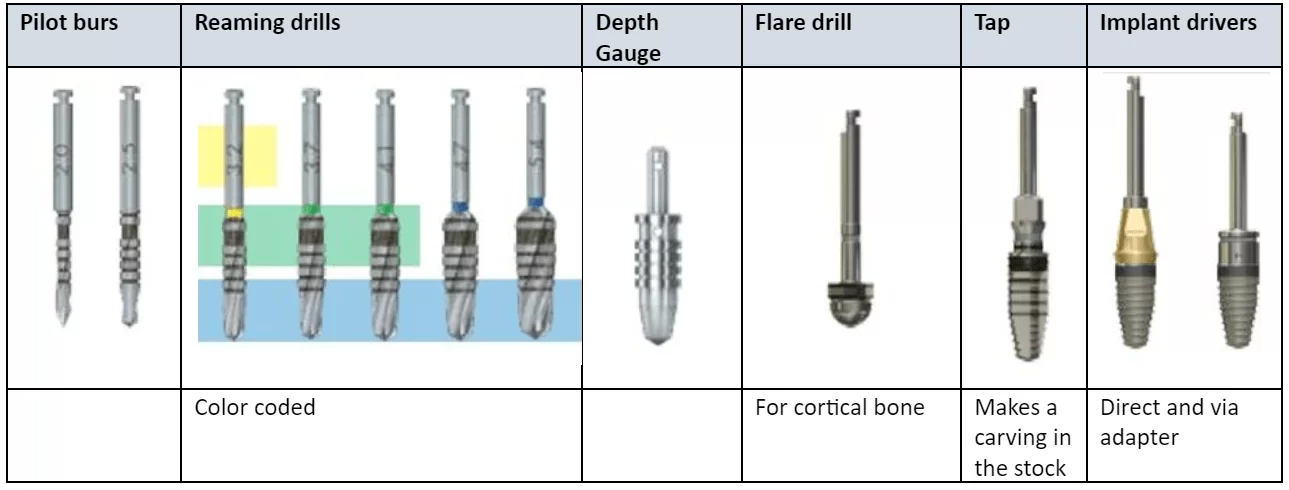
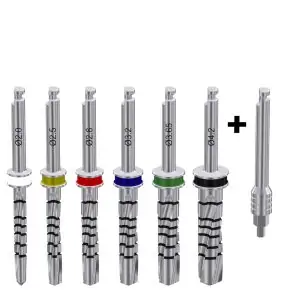
Here is the complete list of tools that may come in handy when installing an implant. For example, a flaring drill and a thread cutter (tapper) will be used together only if the patient has type D1 bone. Such bone is very hard and dense, and the dental implant will not be able to cut into spongy bone with its own threads. With bone type D2, only a flaring drill is needed to expand the cortical bone and relieve compression at the implant neck, otherwise the injured bone will be resorbed.
Experienced specialists give some recommendations for the installation of implants in D3-D4 type bones. Let’s take a look at the examples of implants with a diameter of 3.8 and 4.6 mm.
| Implant diameter | D3 bone type | D4 bone type |
| 3.8mm | Only pilot cutters up to 2.5-2.8 mm | Only pilot cutters up to 2.5 mm |
| 4.6 mm | Pilot cutters + reaming drill 3.2 mm (yellow) | Pilot cutters up to 2.8 mm only |
Although this differs from the generally accepted recommendations, in the case of bone type D3-D4 the implant will enter the cancellous bone due to its own threads even with such a significant difference in diameter between the socket and the implant itself.
Implant placement
If the previous preparation is done correctly, the installation of the implant should be a fairly routine and simple process. You can use the implant driver or place the implant manually. When using an implant driver, a speed of 30-40 rpm is used, and in dense bone the last 1-2 mm must be manually tightened to obtain the desired torque.
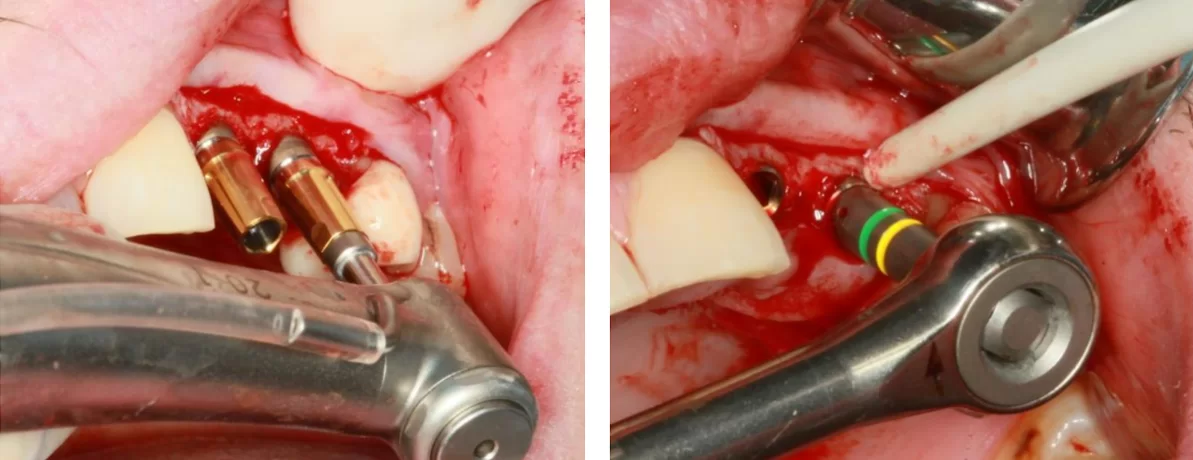
We have a separate article about primary stability and the required tightening force under different conditions.
Gingival closure after implant placement
The skill of suturing is best developed by periodontists, but it is also worth mastering by specialists in implantology because the success of treatment depends significantly on the quality of soft tissue suturing. If in general surgery sutures are the work of junior medical personnel, then in the work of dentists the suturing of soft tissues must be done masterfully. There are many training programs, but the main thing is practice. Below is an illustration of one of the simplest, but nevertheless effective, knotted seam.
Now is a wonderful time, there are many sources of information. You can find videos with the work of specialists of the highest level, on any system with the analysis of clinical situations of the highest level. The paradox is that too much information can also be a problem, so our articles are an attempt to structure information through practical experience and focus on the most important points. This and other articles on our blog are in addition to the materials taught in medical universities and continuing education courses.


