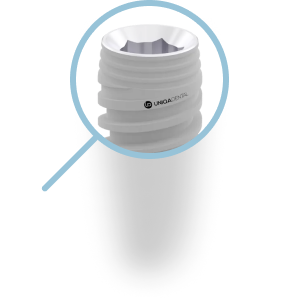
Drilling procedure for UNIQA Dental Pure & Porous Implant UH8 UV11 [ 3.3 mm | D2-D3 bone density ]
Video description of the drilling protocol
IMPORTANT! In order to properly install Uniqa Dental implants, it is necessary to follow the socket preparation protocol. The video shows the steps required to install a 3.3 mm diameter implant in D2-D3 medium density bone.
First, a socket must be made to a depth of 1-2 mm in the hardest cortical layer of the bone, using a special cortical bone drill. Then, a pilot drill with a diameter of 2 mm should be used to drill the socket to full depth, which is usually up to 10 mm. The recommended rotation speed is 1000 rpm, and the maximum is 1200 rpm. When drilling, moderate pressure should be applied to avoid resistance from the bone and to ensure intensive irrigation for cooling the drill and bone.
Next, a 2.5 mm diameter drill should be used to go halfway into the socket. A 2.8 mm drill can help go a quarter of the depth. Then, a 3.2 mm drill should be used to expand the socket opening to the depth of the cortical bone layer, which is usually 2-2.2 mm. If resistance is encountered during the drilling process, the drill may need to be replaced as it may have become dull.
It is important to use water during drilling to prevent overheating of the bone and thermal necrosis of the bone tissue after implant installation. After this, the implant can be installed in the socket. The aggressive thread profile of Uniqa Dental implants allows for it to be screwed directly into the bone tissue and provide good primary stability. The maximum allowable torque during implant installation is 50 N*cm. It is important to carefully follow the instructions provided.


