Drilling procedure for UNIQA Dental Pure & Porous Implant UH8 UV11 [ 5.0 mm | D1 bone density ]
Video description of the drilling protocol
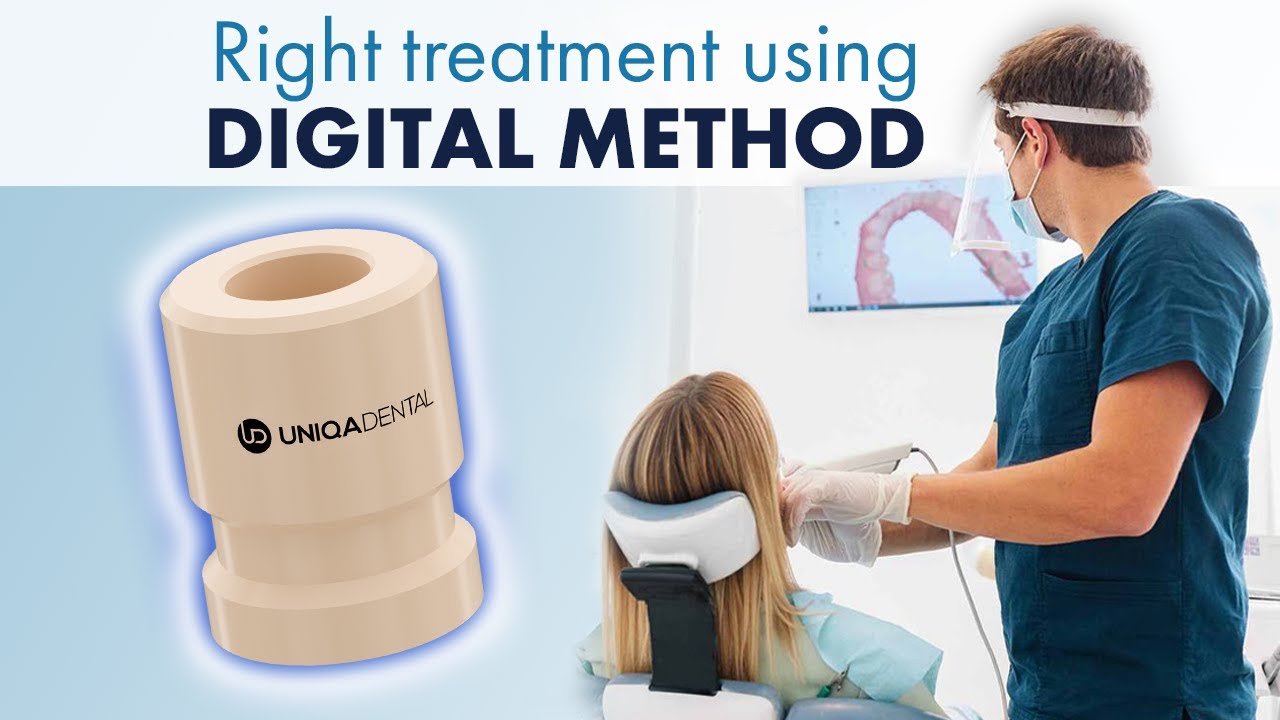
ATTENTION! Please read the Uniqa Dental implant installation protocol carefully. Only a qualified dentist with experience in this field should perform this procedure.
To install a 5.0 mm diameter implant in D1 bone density, a hole should first be drilled in the hardest cortical layer of the bone using a special cortical bone drill. Remember that the thickness of the cortical layer in this type of bone is the largest, usually 2.2-3.5 mm or more. Next, use a 2 mm pilot drill to go through the hole to the full depth, providing moderate force and intensive irrigation to cool the drill and the bone.
Then, use drills of increasing diameter in sequence to expand the hole to the required depth. First, expand the hole to the full depth using a 2.5 mm drill, then expand it to 2/3 of the depth using a 2.8 mm drill, and then use a 3.2 mm drill to go through 1/2 of the full depth of the hole. Then, expand the hole to 1/2 using a 3.65 mm drill. After that, take a 4.2 mm drill and expand the hole to 1/4 of the depth of the hole. Finally, use a 4.6 mm drill to expand the opening of the hole to a depth of about 3 mm to pass through the cortical layer completely.
During drilling, provide intensive irrigation with water to avoid overheating the bone and thermal necrosis of the bone tissue after implant installation. After passing through each drill, rinse the hole abundantly with isotonic or saline solution to remove bone tissue residues and lower the temperature in the bone.