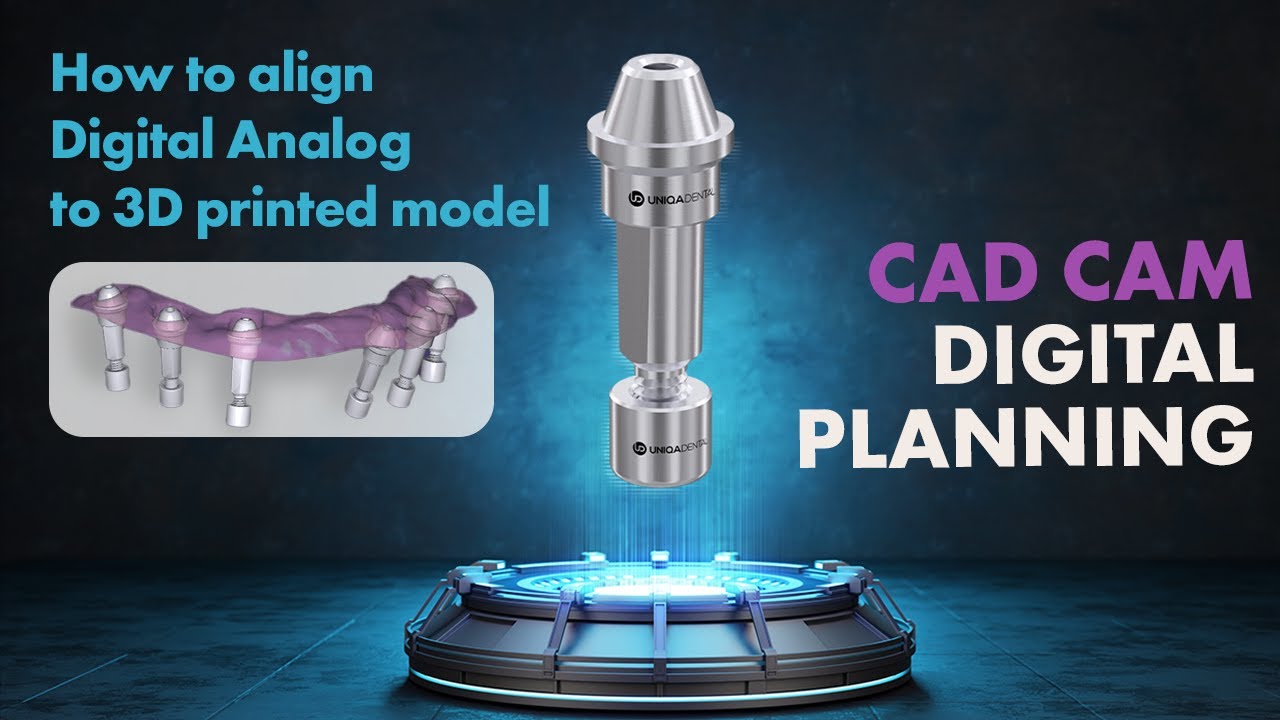
From a broken bar to screw retained restoration
Hi, and welcome back to Uniqa Dental Show where we discuss interesting cases and new procedures in the field of dentistry. With us today is Dr. Yaniv.
Initial situation with which the patient came
Well, today we want to explain how we extracted the teeth. In here you can see an overdenture on a bar. The teeth below the overdenture are rotten with caries. You need to extract the teeth. And we extracted some of the teeth. We removed parts of the bar.

Metal-ceramic prosthesis based on prepared teeth
The bar was on the teeth, how it all looked will be seen on the next slides. And we made a surgical guide. We made the bridge before we placed the implants and everything was done in one day.
Here, you can see the bar. The bar is on the teeth.

Metal bar that is fixed on the patient’s teeth
The question may arise why do the bar on the teeth. Why not just remove them and then place the implants and make the bar?
If you make a bar on the teeth, you have more options for maintenance. You have a lot of advantages in making the bar on the teeth. Today, it’s not very popular.
It is not always obvious why there are advantages to making a prosthesis fixed on the teeth and not on implants.
The fact is that at the time of the installation of the prosthesis, the teeth were in order. And when the teeth are in order, the doctor does not want to remove them. Personally, I would like to save them. You can use your teeth. You feel you have better function. So, in here you can see a bar on the teeth. The teeth are old. It’s like a bridge, but made of metal. On this bridge, you have a denture of an edge. It’s not a very popular regimen these days, because you have a lot of alternatives. And in here you have a small bridge on two implants. And the overdenture is on those two implants and all on those teeth. It’s one of the only ways possible connecting implants and teeth in one restoration, because you can’t connect implants and teeth. You need to have some non-rigid connection. With dentures, you can have an unrigid connection.
If you connect implants and teeth with a rigid construction for a long time, it will harm the implant and teeth. And you’ll have, with time, problems with it, and you’ll need to extract it.
The thing is that teeth have periodontal ligaments and soft tissues that hold it.
These are the soft tissues that contain the tooth in the bone. So teeth have micro-movements, but implants are built into the bone and don’t have any movement at all.
Yeah. They’re fixed. So, if you connect something with micro movements, something that is fixed, the one with a movement will become weaker.
Here, you can see the overdenture. It’s based on metal. On this bar, you have teeth from a plastic, from acrylic on metal based.
Now, this is how she came. With a bar in her hands. This shows us if it is de-cemented.

Removable prosthesis that fell out of the metal base
This was not because the patient was eating something hard. De-cementation shows that the teeth are hopeless. You can do probably nothing.
On the next slide, we see the removed bar and it can be seen that all the teeth are rotten.

Condition of the teeth after the metal bar was removed
And the doctor can’t use those teeth. You need to extract them. You, maybe, temporarily can place the bar on the teeth, but it’s not a long-term solution.
The bar loosened and fell precisely due to the fact that the teeth were rotten.
How was the patient’s problem solved
Here, you can see, we made a plan for a new bridge and new teeth. With these teeth, we know where to place the implants. We chose some teeth to extract and some, and instead of these teeth, we can place implants.

Digital model of the prosthesis, which shows the location of the screw channels
The slide shows that one screw channel is located buccally. This is not good.
But due to the position of the teeth, the position of the implants and the placement of the last teeth is a problem to place the implants parallel because then you’ll have a very big palatal extension. You want to place them a little bit inclined. So, you’ll have a smaller palatal extension. This is why the implants are buccally placed. You can see that the bar is inside and you have a lot of buccal space. So, the teeth are in here. If you place the implants in here, you’ll have the same thickness of the tooth. You want for the tooth to look natural and not that thick. So, you make some inclination of the implant, and this is how you design the final restoration. Later on, you can change these implants for an angulated one. This is what we wanted to do.
But in the first place, designing a bridge for a surgical guide for immediate loading, with angulated multi-units, it’s very difficult. It’s almost impossible. No one’s doing it. And it just doesn’t work. It’s very hard because you have so many things to control in the same way that it’s just impractical. When you design a bridge for surgical guide, for immediate loading, in all of the cases, just use straight multi-units. Even if you have an option, not to use angulated ones. But with angulation you’ll have such a big headache. It just won’t fit.
Later on, you can place the zirconium bridge in immediate loading. You need to wait a little bit for the healing. So, later on, you can change the straight multi-units for angulated, you can do whatever we want.
On the next slide you can see the plastic surgical template.

Surgical template for making a temporary prosthesisNo, plastic. It’s printed with the metal inserts. We made a model. We printed the model and printed the surgical guide. On the model, you can see the places where the implants will be in the end. Yes, those are black marks. So, this part in the mouth, you need to extract. You need to cut these types of these parts of the bar. You need to extract these teeth so you can place implants instead of those teeth.
First of all, you need to cut the bar, because when you put the surgical template on top of the cut fragments, you again get the crossbar.
So, this is what we did. We planned the implants on top of that bar. But in the surgical process itself, you need to cut these parts to place the implants.
Let’s analyze what are the advantages of using a surgical template, and not just the standard method.
When you’re using a surgical guide, you have insurance. You’re sure where the implants will be. You plan all the cases from the start. You know what to do and where to put it. It makes the whole case a little bit simpler, because if you just, in this case, the second option will be free hand. And in free hand, you can’t this way design where the implants will be. You can’t make a bridge from the start. So, you’ll need to scan the implants if you want to have immediate loading. You need to scan the implants on the multi-units. The patient needs to wait this amount of time. If you make the bridge before the implantation, the only way is with a surgical guide and with the libraries to know where the implants will be and where the multi-units will be. So, in this case, we had literally two options for extracting all the teeth and making the bar on the gingiva. And the second option was the surgical guide.
Also, the question may arise why not make a surgical template on the gum after the removal of all rotten teeth.
And in this case, if you extract everything, you have a lot of moveable gingiva, because in these places, there were teeth. And the gingiva is very thick in these cases. So, if you have a surgical guide relying on those places, the surgical guide will be moveable. You don’t want that. You want the surgical template to be as rigid as possible.
We cemented the bar on top of these teeth, two compressions, cut the bar, extracted some of the teeth and some of the teeth remained. So, we can place the surgical guide on top of those teeth.
Teeth holding a surgical guide, and then we remove the surgical guide and extract those teeth. And those types of parts of the bar.
In here, you can see the bar we took out. In this part of the bar, we cut between the teeth.

Fragments of a metal bar with cutsSo, everything we need to extract, we can extract right here, right now. And here, you can see the teeth without the bar. So, the next stage we extracted the teeth.

Remaining teeth to be removed
The abutments to be scanned are also visible on the slide. The impression originally was taken with the scan abutments. Thus, the surgical template also relies on the scanning abutments to hold them in place.
And we see that the gum has really resorbed in the area where there were no teeth for a long time.
It’s gone because there was nothing to hold the bone. The cortical bone, the available bone in the mouth, is going through some absorption. If you extract the teeth and you don’t place any implants and you don’t have any pressure on this bone, the bone needs to be functional. If it’s not functional, it just absorbs until you have a thin layer of bone, basil bone, and that’s all. So, in this place, you can’t even place implants. You don’t have enough place, you don’t have enough bone.
And here it is clear that the doctor does not have enough space. After the extractions, you can see the sockets of the implants. You can see the extractions were made very carefully so that these teeth that are temporarily with the cemented bar on them didn’t move at all. Now you can place the surgical guide. You can place the implants. Now it’s supposed to be a very fast-moving procedure in the surgery. So, we don’t have photographs before and after. The next photograph that you see is with the implants and without the teeth.

Jaw after tooth extraction and with implants installedYou can see the implants that were placed. There was another implant placed here. And another distally that we didn’t want to load, because these spans and all the pressure on the last implant will be a problem. We don’t want it. Here, you can see the model with all the parts. You have the implants with the part of the bar, you have this part of the bar that we cut away. And we have these teeth that we took out after the extraction. And this remains the same. And here we have brought all the parts together.
On the next slide you can see the new bridge.


New temporary bridge for immediate placement in the patient’s mouth
Here, you can see all multi-units and screw channels.
You have the scan of the patient. We edited the scan so it would fit on those implants. Next stage we cement the bridge. You can see that the gingiva is a little bit swollen because of the surgery.

Installing a prosthesis in the patient’s mouth
We need to wait in this case. You need to wait because you want the gingiva to heal and to come back to the healthy tissue, the pinkish tissue…
In this case, because it’s an immediate loading, it’s much more than a month. You need four or five months at least to be with a temporary bridge.
The gingiva will heal. But the other time you need to wait for the osseointegration of the implants. Because you have new implants, you don’t want to remove the bridge and put the bridge back all this time. So, you wait four or five months for the osseointegration and you have a new bridge. We closed the holes with a plastic pin of the new bridge.

Pins inserted into the screw channels of the bridge
So far, nothing has been done with the area where there are no implants or a bridge and where the gums are resolving.
You can’t have a seamless lift be done. You can add a little bit of bone.
Temporary bridge does not close this section now.
We did make an implant distally to this area. So later on, we can have a cantilever of two teeth and then this implant will be on the bridge.
But such a solution is not always possible. In here, you had placed distally to this area, but if not, maybe you need to do bone augmentation. It’s not a problem. In the upper jaw, it’s fine. It’s okay to do bone augmentation. You can close seamlessly, open seamlessly.
It is traumatic for the patient, but there is no other way.
How does this case differ from the classical method of full restoration of the dentition all on six
It’s more or less the same. In here, we’ve made like six implants, like all on six. There is not much difference between all on four, or all on six. In many other four and six cases, you want to make a denture before the procedure and not the bridge. And then you hollow the denture and use multi-units and sleeves and fix them in the mouth. It’s also possible. You have many different options for making a new, temporary restoration for immediate loading. And almost all of the all on four and all on six cases are also immediate loading with four to six implants and going around the sinuses with angulation and angulated multi-units and straight multi-units. It’s probably the same. There is a little bit of semantics.
Temporary bridge made of PMMA is now installed. Maybe there’ll be another temporary bridge because you want to have a bridge with all the influence altogether in one. And you want to check how it looks with the gingiva. You need to do some adjustments. And later on, you’ll have a permanent bridge from zirconium.
And thank you for being here today. Don’t forget to like, share, follow, subscribe, and send us your interesting cases so we can review them. Stay safe. See you next time.