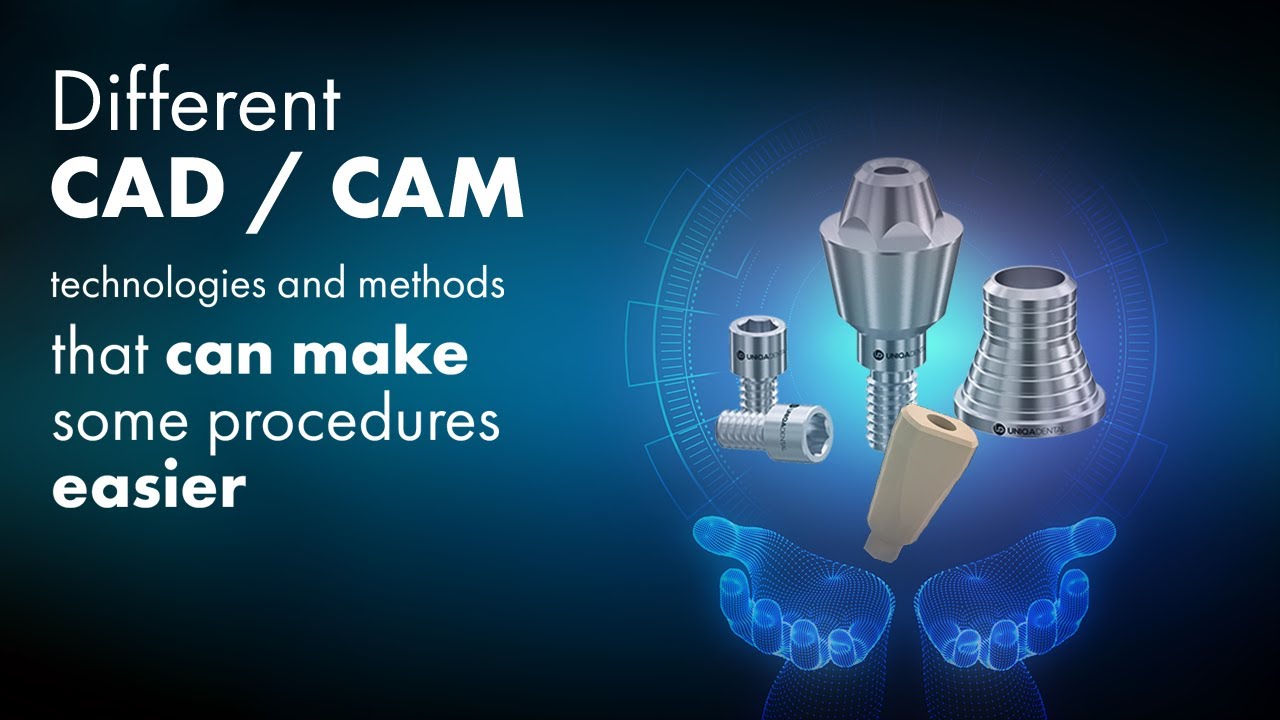
The dental implants is placed on the smile line? Screw-retained restoration | Digital impressions
Hello everyone – welcome back to Uniqa Dental – here we discuss new technologies in the field of dentistry. We also look at interesting clinical cases to show how doctors use our products to solve complex dental problems. Today, Doctor of Dental Medicine Yaniv is a lecturer at Gerber University with us. Don’t forget to subscribe and follow us to stay updated! So let’s get started.
What is the problem of the patient who came to us

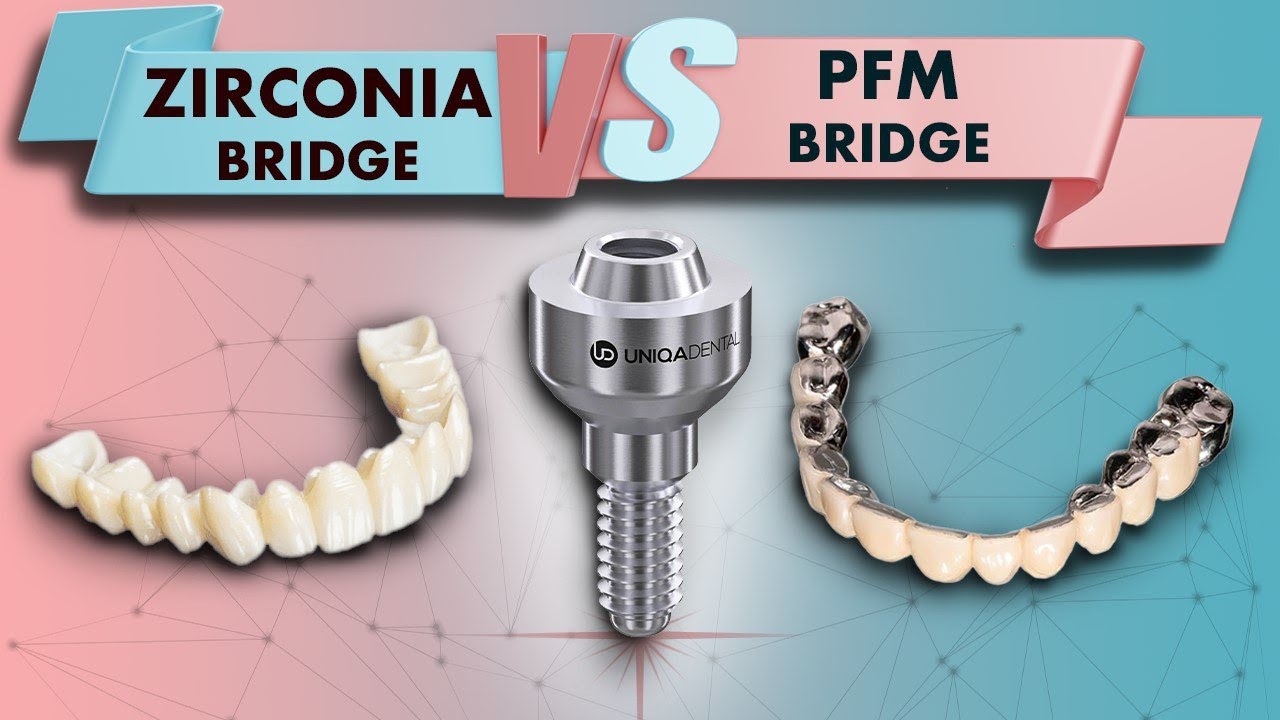
The problem with which the patient came (left photo) and a new zirconia prosthesis (right photo)
Today we’re going to do something a bit different – we brought an old case that we restored about 20 years ago and the patient is now 80 years old. We want to restore his broken bridges into a new zirconia one & to esthetically enhance the whole situation. Now, in this case 20 years ago, when it was made, he had one implant extremely buccally inclined in a very visible area – you can see right there, where we closed the screw-channel with composite and during those 20 years it absorbed some pigmentation and now this is how it looks.

A broken ceramic-metal prosthesis and a darkened composite filling that covered the screw shaft
Now, the patient was brought to us in a wheel-chair & we are unable to do any implants or anything too complicated due to his age. He simply wanted to chance the aesthetics of the bridge, to make it look a bit whiter & newer. Meaning that the esthetics are the first & only issue we had to focus in this case. The functional aspect is not an issue at the moment because it has not been an issue for him regarding food or anything else. He simply wanted to focus on the visual aspect & wanted to eliminate the screw channel that goes to the buccal in both the upper & lower bridge.

An old metal-ceramic prosthesis that has stood for more than 20 years

Jaw of a patient with new low height MUAs
So, in here you can see that we took off the bridges. The old ones were made of metal – probably with composite onto the metal, not porcelain. When we took off the metal & cast the metal you can do any angles you want – you can make a screw channel that goes like 40 degrees into the buccal & you won’t have any issues. Now we wanted to change it to zirconia as well to make sure that we don’t have any screw channel that will go into the buccal & in order to change it, it might cause some problems. If it was a different case, maybe we could consider adding implants right next to the buccal one and just not use the buccal one – however in this case like we mentioned before we are unable to add implants. These implants we must use because you can’t have that many crowns without any implants – it would probably break. You have only four implants here which is quite a problem, because on one hand you don’t want to have the buccal screw-channel and on the other hand you don’t have any better options: you can’t add implants – meaning we can’t really do much.

Digital impression of the jaw with the location of the abutments for processing by the CAD/CAM system
So the solution is this. First of all we changed the multi-units. The multi-units that were used a long time ago are not suited for CAD/CAM. Here we had used one-millimeter multi-units and for the problematic multi-unit we used half millimeters Multi-unit. On top of the half millimeter Multi-unit we used a very small sleeve – it won’t screw to the multi-unit, but the chest rests on the multi-unit. But it doesn’t sit on the multi-units, you don’t screw on top of the multi-unit and because we did that you can close the screw-channel – you don’t have to screw at all. For the lower bridge – we just took off the old bridge, we changed the multi-units. Quite simple, and took impressions.

Digital X-ray of the patient’s jaw with scanned abutments
Now technically you can use the angulated one, it would fix the screw-channel inclination, but you’ll have the other problem which is that all the metal will be in the buccal area. When you use the angulated multi-unit the buccal part is from metal and you can see all that metal because of the inclination.
So on the one hand – you can correct the inclination of the screw-channel, but on the other hand you have all of this metal that is visible which no one wants & can be very problematic, when you don’t have enough gingiva. When you have two to three millimeters gingiva, you can use angulated multi-units, the gingiva would cover the buccal part of the multi-unit and you don’t have any esthetic problems. In here – you’re using half millimeter multi-units. The smallest angulated multi-units in the buccal area is around 1,5, maybe 2. For esthetic reasons you can’t use an angulated type of multi unit.

Finished zirconium prosthesis on which a cosmetic defect from the screw shaft has been eliminated
Here we took the impressions on the multi-unit. You’ll notice the buccal-inclined multi-unit – you can see those three multi units are straight ones without any problems at all. And this one is so inclined – it causes an issue.

Digital impression showing that one implant has a buccal deviation with a large angle
In this case – many times you have to check if you can even mill the bridge from zirconia. Because due to these angles – there is a chance that you can’t mill the bridge itself. The milling machine has some angles – you can’t have more than 30 or 40 degrees between implants, so in this case first of all we checked if it isn’t possible to even make. We ultimately already knew that it was possible to create – we could use straight multi-units and then we used a special type of sleeve that is only 1,5 millimeters in height. We just covered the sleeve and the multi-unit and then the multi-unit rested there. As you can see here, the sleeve is very small. The higher the sleeve – the more it would go to the buccal side, when you have multi-unit like 45 degrees inclination. If you use a regular one like 4 millimeters, you’ll have 2-3 millimeters more in the buccal – which means you can’t use it. You need to have the smallest possible sleeve.
This case we used the smallest one which is 1,5 millimeters in height. The other ones were 4 regular ones. The 1,5 is without a screw. You just cement it to the bridge and press it to the multi-unit. The only thing it does in function such as in eating or speaking – is the force on the bridge goes onto the multi-units because it rests on the multi-unit. It won’t break that easily, in most cases, when, you know, you don’t need to take extra procussions because of extreme forces, then it’s an option. Since we can’t add implants, you can’t use higher sleeves, these are extreme cases when you don’t have anything to do.

1.5mm high sleeve to be used without screw
So basically, the sleeve adds a sort of suspension on the bridge. The multi-units that were used here are V-type multi-units. The V-type multi-unit has much smaller cones. It doesn’t have like a regular multi-unit cone of about 2,5 millimeters, just 0,8. Because of the small cone it has a very large surface area for the sleeve to support on the multi-units. When you cement the sleeve onto the bridge you have a lot of surface. You have a great suspension between the bridge and the multi-unit itself. In this case – you can’t always use it, you can’t cement all of the sleeves.
It holds the pressure, you have the suspension that you need, you have the forces going onto the multi-unit and it works great. Here you can see because we used the small type of sleeves the result we have: you don’t have a buccal bulge; you don’t have a screw-channel at all. You have pretty good esthetics. We changed the lower bridge as well, you have three regular sleeves of 4 mm and one 1,5. In horizontal and vertical movements the forces that are applied you’ll have some suspension, it will help to hold this bridge. In this case when there is a very large span between two implants you can use it to compensate for some of the forces.

The final result is a new zirconia prosthesis that looks great
If you compare it to what he came in with – it looks amazing! Its a great solution in cases where you have a large span and you need to compensate for problematic angulated implants and you can’t add implants. It’s a very difficult case – it’s not a regular case where you can use all of the parts and you can do crazy esthetics, sometimes this is what you have to work with. We are not trying to show here great cases with a great esthetics and a very simple solution – we’re trying to bring the problematic cases when you don’t know what to do and you need to find the way to go around and use it and make it work anyway. So, in this case using 1,5 mm is a great solution and it will probably hold till the end of his life.
Thank you everyone that joined in to learn some new & interesting information – make sure to stay tuned for more and of course don’t forget to subscribe, like and follow! Thank you & see you next time