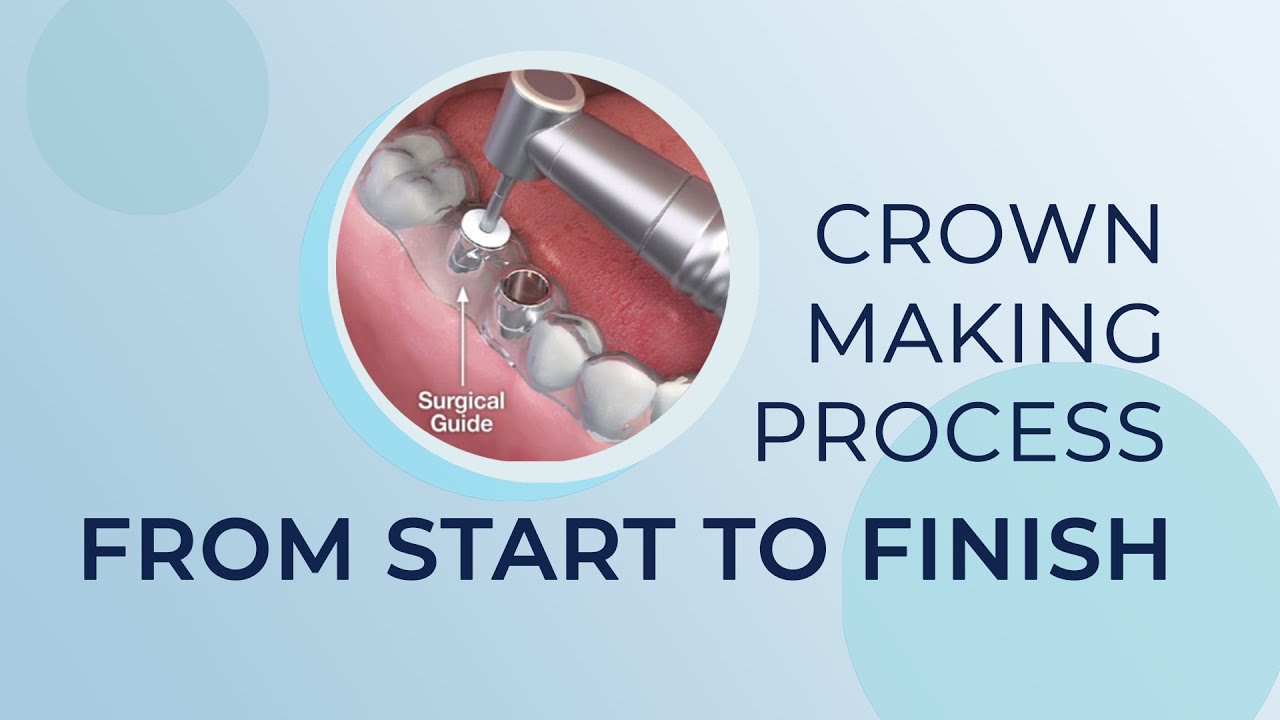
Will the dental implant be exposed? Changing the parts of provisional bridge that broke down.
Hello everyone – welcome back to Uniqa Dental. Here we discuss new procedures in the field of dentistry. For clarity, we analyze interesting cases to show how doctors use our products to solve complex dental problems. Today with us is Doctor of Dental Medicine Yaniv, who teaches at Gerber University. Don’t forget to subscribe and follow us to stay updated! So let’s get started.
Why did the temporary prosthesis break
Today, we have a provisional bridge broken down. You can see the break point and we analyzed why it broke down.

Temporary restoration with a clearly visible crack
We changed the prosthetic parts and we fixed the issue of why it broke down in the first place. That’s what we’re going to be covering today & we’ll also be taking a look at how we analyze what we did in the process of the changing of the parts. First of all, we had the upper bridge. You can see that you have a four-millimeter sleeve. Then you had the screw channel. But then it broke down in the place of the sleeve.

Bridge digital models: top image 4 mm sleeve with screw channel (causing breakage); lower image 1.5 mm sleeve without screw channel
So, we saw that the surface of the cut around the sleeve is too small, because you have quite a large span between the different implants.
How did you manage to strengthen the new dental bridge
So, we changed the sleeve to a smaller one and we eliminated the screw channel. So, the surface cut is much bigger and it can withstand much more forces. We don’t have a screw channel at all. It actually doesn’t hold on the sleeve. It just sits on the multi-unit. The vertical forces that you have, they all go straight to the multi-unit.
The bridge will be stable. You have enough material to hold it. And because we eliminated the screw channel and made a smaller sleeve, we managed to remove all the material from the upper part of the bridge. And this part of the bridge is not in deep bite. So, the patient doesn’t close right on the bridge. It has much less force that goes on top of the bridge. The vertical forces are smaller and the vertical forces go right to the multi-unit, right to the implant. So, it holds this part of the bridge.
In cemented restoration, you would have a different problem. Because first of all, for cemented restoration, you need enough surface – enough height – of the abutment. You can’t switch for a one-and-a-half-millimeter abutment. There is no such thing. It won’t hold at all because it’s all on cement. You have the preparation angle. The preparation angle is about 5 -10 degrees. You can’t just make a one-and-a-half-millimeter abutment and cement the bridge on top of this abutment. It wouldn’t hold at all. You need to have some height. In this case, if you have this height, you need to have more material that goes right on top of the abutment. It doesn’t change anything. And you don’t want to make the finish line above the gingiva level because all the residues of the cement will go below the gingiva level. It’s very hard to clean them up. In the cemented version, it is much harder to make.
Now, zirconium material is a very rigid material. You don’t have any movements in the bridge itself. The only movement that you can have is on the vertical forces when you bite on top of the anterior teeth. When you bite on the anterior teeth, this part of the bridge wants to go down. When it goes down, the sleeve sits on top of the multi-unit and it holds the forces of this bridge. And we eventually saw in this case that when we switched from a three-millimeter sleeve to one and a half, and without the screw, it didn’t break with the provisional bridge. We made a zirconium bridge and it didn’t break down also. And it holds for a year and a half, at least in the mouth, withstanding all the pressure, and all the forces that go on top of these implants and these sleeves.
We have different types of sleeves and each type of sleeve has its own function. For example, the four-millimeter sleeve is the standard type of sleeve that we use in most of the cases – like 95% of the cases. It has enough height for the cementation and it’s small enough so you can make a crown on top of it. The three millimeter is a little bit shorter, so you still can make a crown and you have a little less cementation. It still will hold, but because it’s quite small, you can’t make the screw float inside the sleeve, like we’re doing in the four-millimeter sleeves.
The one-and-a-half-millimeter sleeve is for the most extreme cases. First of all, you can screw it but all of the screw will be in the restoration material, in the zirconia or in the metal of the PFM bridge. This screw won’t be in the sleeve at all. And you have very minimal surface for the cementation. So, the cementation must be perfect. You need to have macro retention and micro retention. You need to use the strongest cement possible. And the six-millimeter sleeves are for when you have very high crowns and you want the momentum on the crown to not to break the cement. So, you use very high sleeves. You almost never use them in the middle, but still, it’s possible to use them.
So, why produce it? You’re probably wondering why we produce it & why we don’t just take the three millimeter and cut it? It’s possible to take even the six millimeters, and cut it into one and a half. The base of the sleeve is the same, exactly the same. But if you go back to this slide, you can see that in this case, we had a library where in the library, we had three millimeters.

We have the four and six and one and a half, all these types of sleeves. So, if you made a bridge with, for example, a four-millimeter sleeve, and you want to change it to one and a half, you can just, with two clicks and little bit adjustments, you can change it. You don’t need to do everything from the beginning. If you want to do the same with a sleeve cutting, first of all, you need to scan the sleeves. If you scan the sleeves, you need to make all the work from the start.
There is a possibility to make steps. For example, one, two, three, four, five, six, to be able to cut the sleeve according to the line that you want. But then you have problems fitting the sleeve. You will cut more than you need, and you’ll have a space between the crown and the sleeve itself. So this way, the sleeve fits the best and you don’t need to do any excessive work to change from two types of sleeves. You can just change from one library to the other, with two clicks and adjust a little bit. The bridge, you can see that we took down a little bit of material from here, made it smooth there. All the work is the same. It’s very easy to change from one sleeve to another, and you don’t need to make everything from the start. Making everything from the start for these types of cases can take an hour to three hours.
So, the one and a half millimeters is the smallest but it will hold because we’re not just cementing the sleeve to the bridge. We are making micro and macro retention. You’ll see two slides below. First of all, you can see here the bridge itself.

A new bridge that does not have a screw channel opposite the abutment with the smallest sleeve
You can see that in the bridge, you don’t have a screw channel. You have a very small area for the cementation and you can see you have like undercuts inside the bridge. We just take a burr, if it’s a PMMA material, you mill in the PMMA. If it’s zirconia you can make these undercuts before the centering process. You just take a burr with your hand, and just make some small micro retentions.

The point of application of the cutter to create a roughness for better adhesion of zirconium to the MUA sleeve
It is very, very difficult to make such a procedure on a CNC machine in the CAT / CAM process. Not every machine can do it and you need different strategies. From my experience, the best thing is just in five minutes, do it yourself. You take a small burr; you do some micro retentions. You don’t have any problems in the milling part of the bridge because everything else goes like standard. The end result of this micro retention is as you can see here. It’s like small undercuts for the sleeves. We do it for all the sleeves, not just one and a half millimeter. We do it for the three, four, and six. You have much better retention for these ones. Then when you cement the sleeve, the cement, or the glue, depends on what you use, goes into these undercuts and holds the sleeve. In the sleeve, you have undercards the cement holds with these undercuts. And in here you have different types of undercuts. So, the cement can hold the sleeve much better.
We recommend doing undercuts in every screw retained restoration when you’re cementing the sleeve.
Why not undercut cemented abutments
In cementing restoration, it’s the worst thing you can do, doing undercuts. Because when you’re doing cemented restoration, you have a bridge. You cement the bridge on temporary cement because the angulation of the preparation is almost parallel. It’s very hard to take off the crowns. So, if you make undercuts in the bridge, it will be almost impossible to remove the crowns from the abutments. And one of the biggest problems in cemented restorations is when you need to remove the crowns. You need to break the cement. And if the cement has bigger undercuts, the cement holds much better the crowns. It’s almost impossible to break and release the crowns without breaking them.
There is almost no such thing as permanent cemented restoration because you’re almost always afraid when you use cemented restoration, the time point when you need to remove the cemented restoration. On teeth, yeah, you use permanent cement because there is no screw loosening. There isn’t any problem. There is almost no reason that you need to take off the bridge, but when you use it on implants, you have a problem because there can be a screw loosening. There can be a lot of different problems. When you have a chance for different problems, you have like 5% in three years, in all of the implants that you have screws loosening. It’s a lot.
So, you want to be able to remove the crowns. I’ll tell you something. Even when I make cemented crowns on top of the teeth, it’s a cemented restoration with a temporary cement. When I wanted the patient to go with the crowns to see if the color fits, if everything is as she likes it. If she likes everything in those crowns, first of all, I cement them on temporary cement. And I have cases when I’m afraid of removing the crowns. I just send the patient back and tell him to come back in three, four months. When the cement will loosen a little bit by itself because we’re just afraid of removing the zirconia crowns. It can break them. Temporary cement lasts this long if it’s a good cementation. If you have an apical seal, if everything’s fine, it would last even much, much more.
That’s why in cemented restoration, you don’t need any retention in the ground. It’s the worst thing you can do. You’re afraid of these things. You need to be able to remove the crowns. It’s much better when the patient can remove the crown and comes to you with the fallen crown, then you need to break the bridge and you can’t remove the crowns. The patient can come because the screw loosened the bit and there is movement of the crown. And you tell the patient that you need to break the ground and make a new one. Because in screw-retained, the cementation is permanent. You don’t want to remove this list from the crowns. Never, you want to remove them. In regular cementation, you want to remove the crowns if you need to remove them. So, here you need the best cementation you can get. And in there you need good cementation, but with the ability to remove them.
Thank you everyone that joined in to learn some new & interesting information – make sure to stay tuned for more and of course don’t forget to subscribe, like and follow! Thank you & see you next time!