Digital dentistry – a description of the steps involved in manufacturing a screw-retained implant-supported restoration
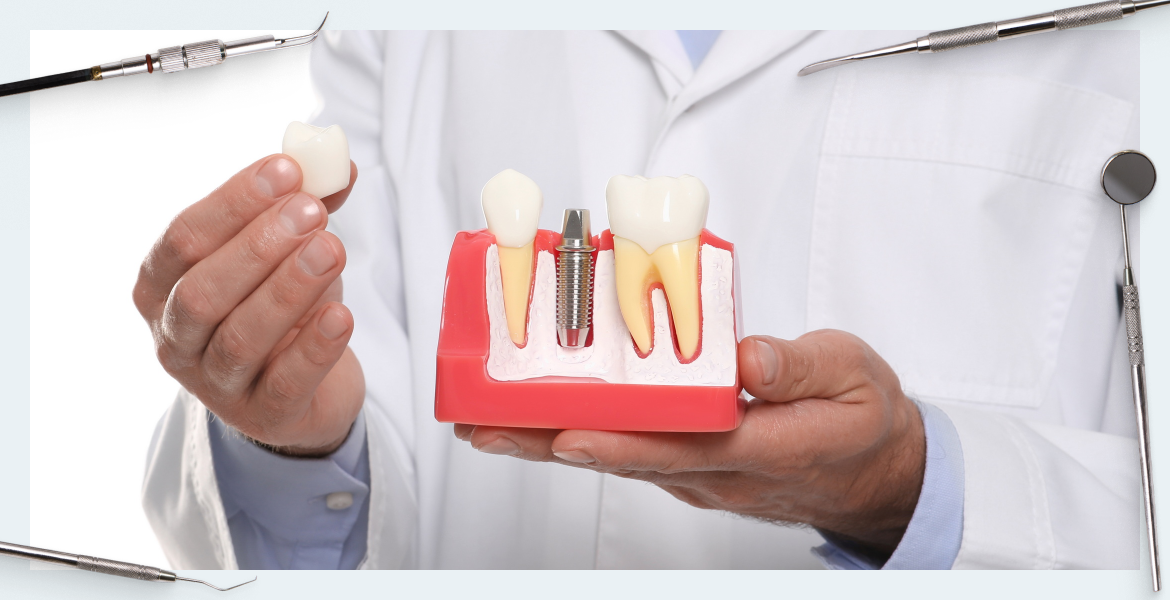
In this article, we will look at the basic steps of manufacturing a denture for a full-arch restoration using digital dentistry, starting with the intraoral scanner, virtual modeling of the denture and manufacturing of the jaw model, as well as fitting the denture on the articulator. The installation of the implants, the osseointegration process, and the formation of the gingiva will not be described here as there is sufficient material on this topic in other publications on our website.
Advantages of using an intraoral scanner compared to classical jaw impressions
Until recently, the most reliable way to obtain a model of the patient’s jaw was to take a silicone impression. A plaster model of the jaw was cast from this impression. Transfers were used to transfer the exact position and inclination of the implants, which were placed in the implants.
Today, an intraoral scanner, which is a light source – LEDs or laser, and an optical scanner – a high-resolution camera, are increasingly used. The device is quite simple, but the computing power of computers and special software that converts a series of images into a 3D model of the jaw has only become available relatively recently. The use of an intraoral scanner has clear advantages over classical methods:
- Patient comfort. You do not have to endure a discomforting and rather lengthy impression procedure. Scanning takes a few minutes – a maximum of half an hour if you need to remove or install the scanning caps.
- High precision unattainable before. The pressure of the silicone spoon on the soft tissue slightly distorts the overall picture. Manipulations to remove the silicone spoon can lead to shifts and inaccuracies that accumulate when the jaw model is cast. Scanning has greater accuracy due to high frame rates and digital image processing.
- Process acceleration. The virtual model is created and checked very quickly. There is no need to wait for the casting to solidify. It is faster to create and print a 3D model than to wait for the first model to solidify using the classic cast protocol.
- Easy data storage and transfer. If you need a consultation with colleagues or need to retrieve data on a clinical picture a year or two later, nothing is easier. It is easy to transfer the file and store it with all the notes.
Will the dental implant be exposed? Changing the parts of provisional bridge that broke down.
How to use the intraoral scanner
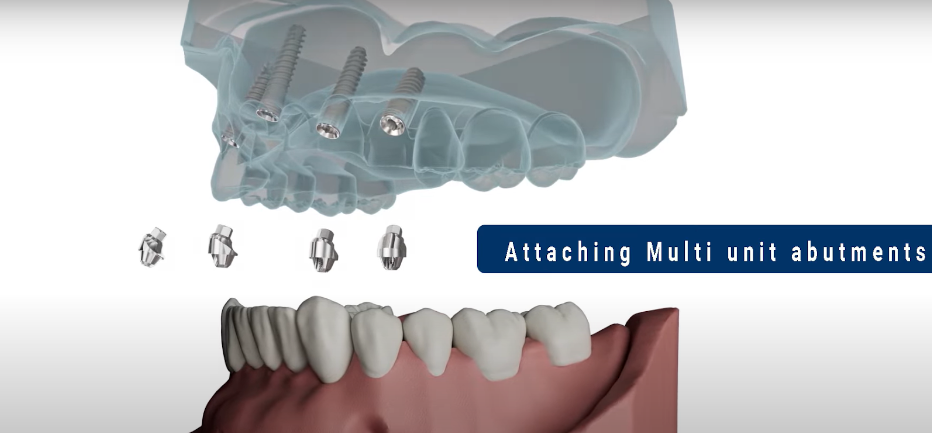
To illustrate, let’s take a hypothetical case in which we need to restore the front teeth on the upper jaw. Several scanning procedures will need to be performed. Before the first procedure, only multi-unit abutments are placed in the implants.
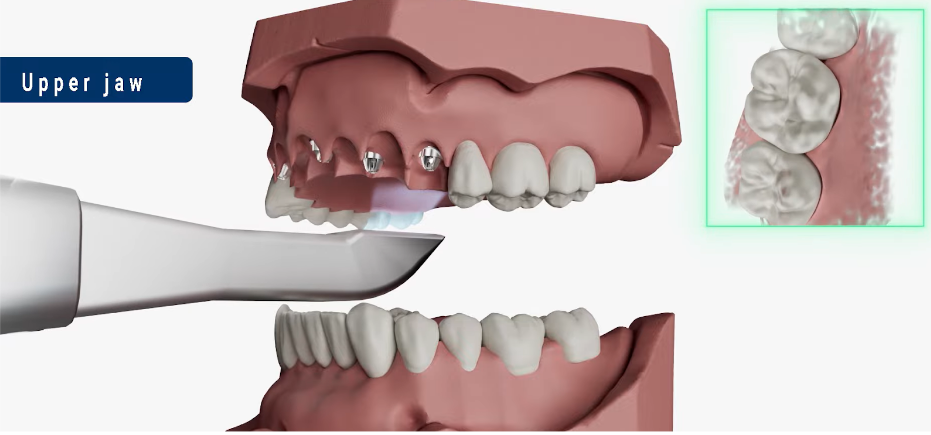
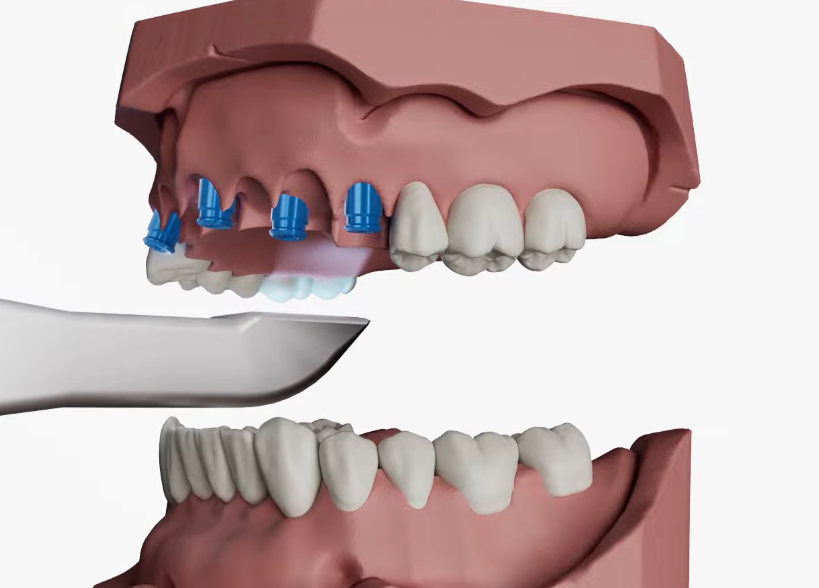
- We scan the upper jaw to obtain information about the location of the remaining teeth and the condition of the soft tissues. Scanner movements should be smooth without jerks or sudden changes in the distance between the scanning head and the patient’s jaw.
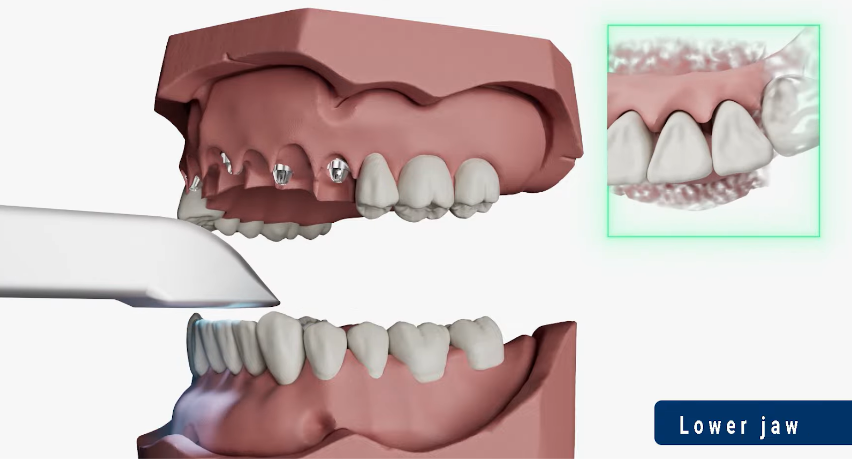
- The lower jaw is being scanned, all the teeth are in place, so one scan is enough.
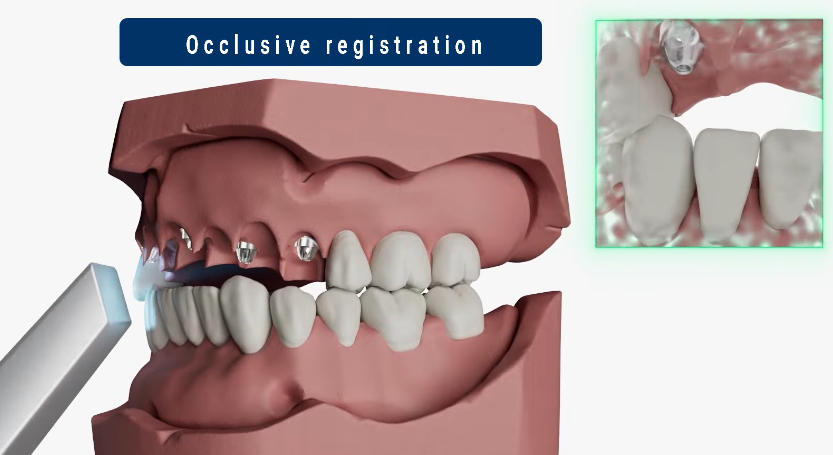
- Then scan the external surface of both jaws smoothly and continuously.
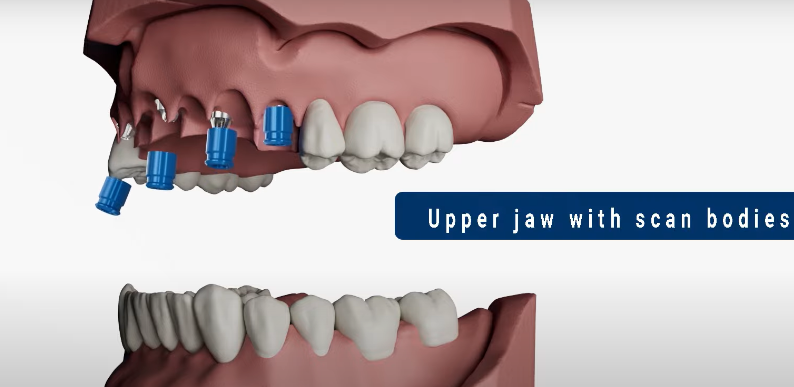
- The final step is a repeat scan of the upper jaw with the scan caps in place. The caps show the exact position and angle of the implants, which is critical for the development of the virtual model of the dental prosthesis.
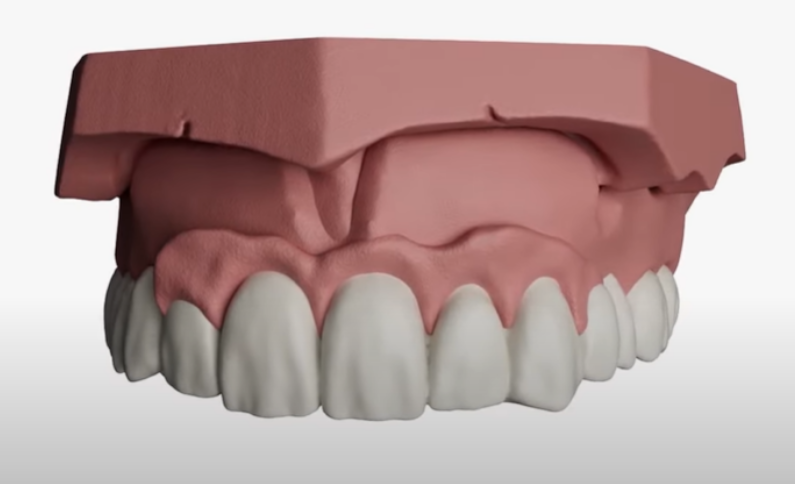
As a result of the processing, we have four .STL files that should be sent to the lab along with digital multi unit level libraries and digital analogs library for Modelcreator. Based on this data, physical models of the patient’s jaws with grooves for the implant analogs will be printed.
Modeling and fitting of the dental prosthesis
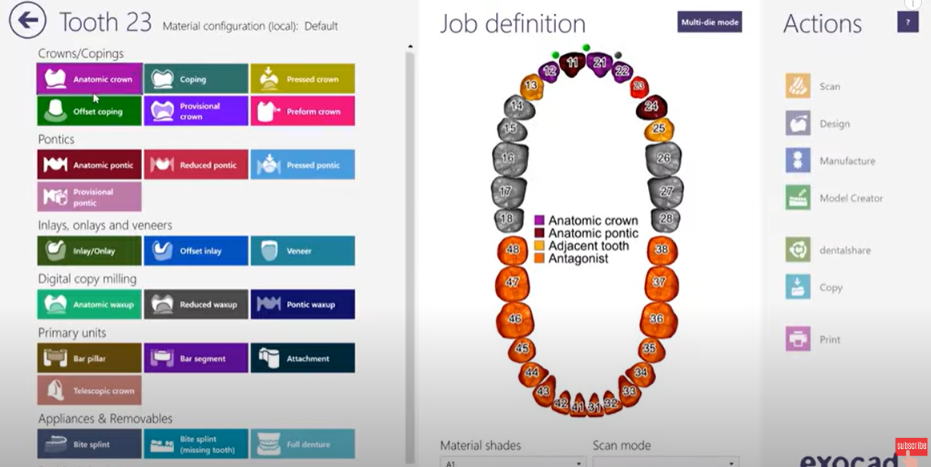
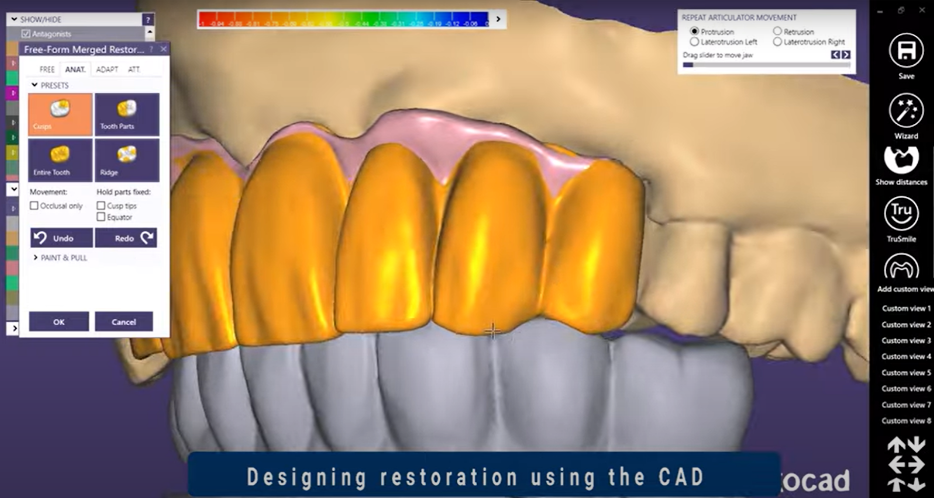
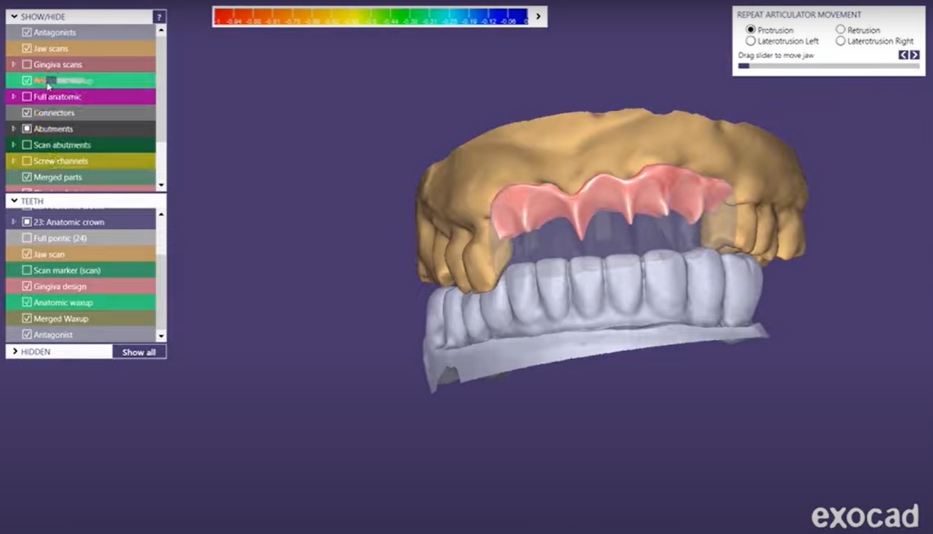
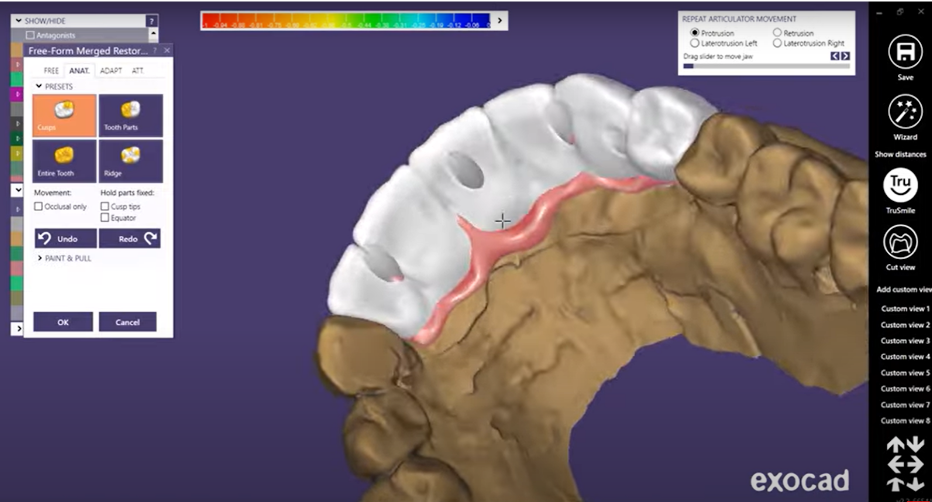
We will not focus in detail on the process of digital data processing and virtual model creation, but all operations were performed in the EXOCAD program, which is a standard in digital dentistry.
Manufacture of Physical Models and Adjustment of Restoration on Articulator
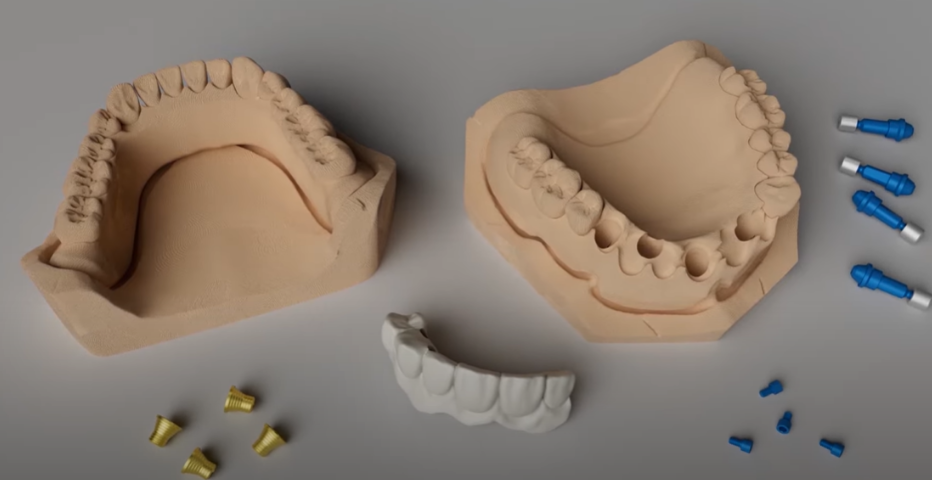
After the digital models have been created, the patient’s jaw models are printed on a 3D printer, and the dental prosthesis is manufactured. The dental prosthesis can be fabricated either on a 3D printer or on a CNC machine, depending on the task at hand. If it is a temporary restoration, it may be made of nylon or composites based on methacrylic resins and silicon dioxide or zirconium dioxide. Permanent dentures can be fabricated entirely from zirconia.
Further work will require:
- jaw models
- restoration
- implant analogs that simulate the position of the implants and abutments in the patient’s mouth
- sleeves that are glued into the restoration and screws for fixing the prosthesis to the abutments
- final screws
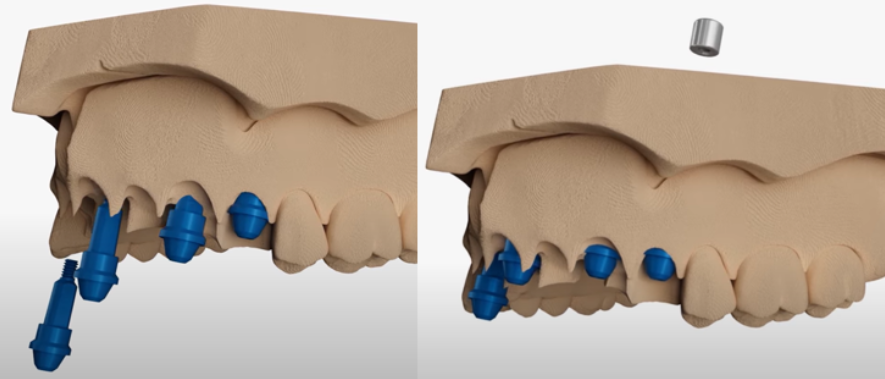
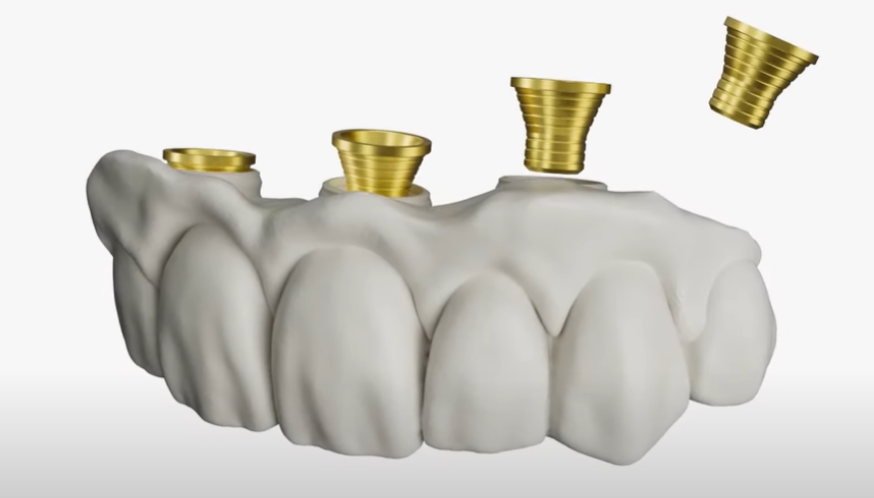
- Installing implant analogs with abutments in the upper jaw model.
- We glue the sleeves for screw fixation of dentures into the previously manufactured denture restoration.
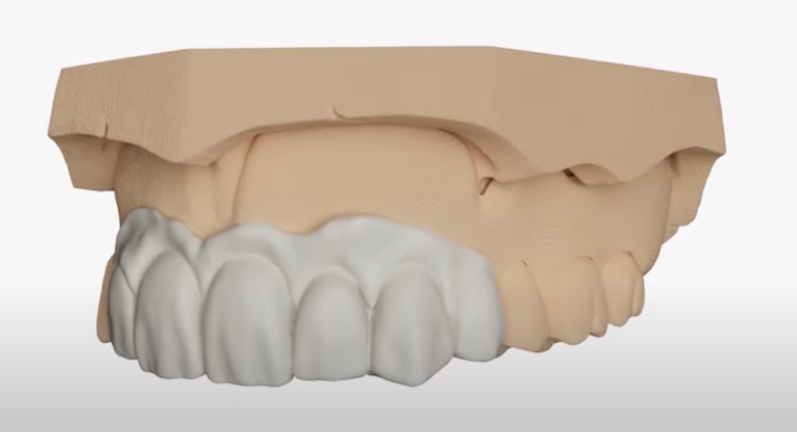
- We install the detailed denture on the jaw model. Special screws are used for fixation.
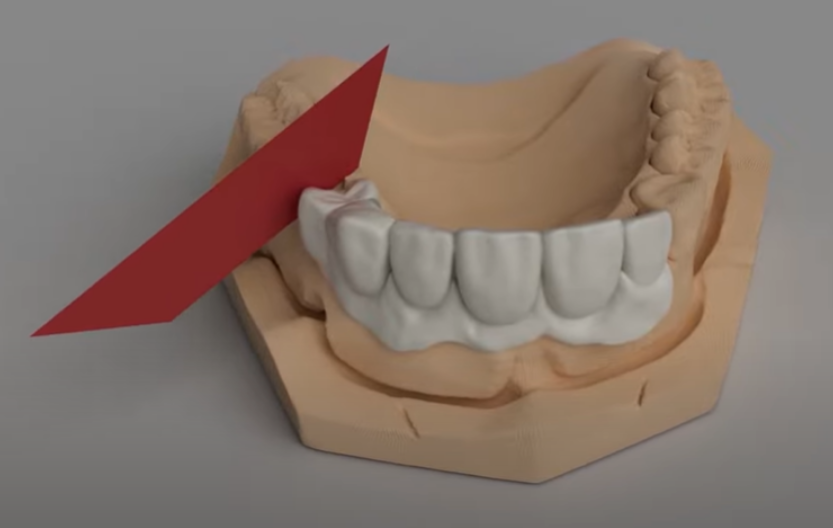
- After the installation of the restoration on the jaw model, cuts are made in the areas where the denture fits into the base of the model.
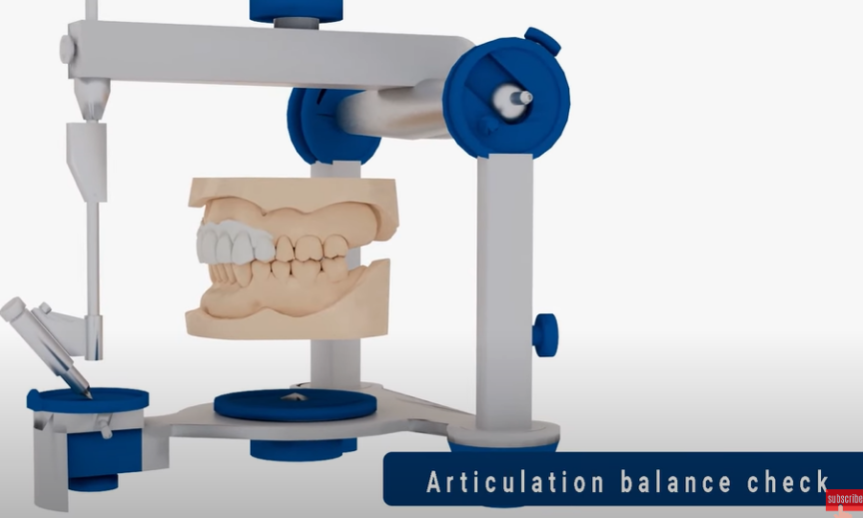
- The jaw models are placed in the articulator, where the fit and functionality of the prosthesis are checked in all physiological modes, including lateral jaw movements.
- If all the previous steps have been successfully completed, it remains to apply glaze and paint to make the restoration look as natural as possible in the patient’s mouth.
- The final step is the installation of the dental prosthesis in the patient’s mouth with follow-up care. If it was a temporary restoration, the permanent denture is manufactured and installed.
Digital dentistry, also called CAD/CAM system, has significant advantages over traditional methods:
- Highest precision, not only the scan results play a major role, but also the availability of libraries with 3D models of abutments, screws, sleeves, and implant analogs. Uniqa Dental provides access to the 3D model library for all its customers.
- Speed. The patient does not have to wait weeks, or even months. In the case of simple restorations, it can take only a few hours from the moment of scanning to the installation of the prosthesis. Of course, this is rarely the case in practice, as denture manufacturing laboratories also have their own queue. If all the necessary equipment is available in one clinic, it is possible to take a digital image, fabricate the prosthesis and fit it without letting the patient go home.
- Simplicity and ease of data storage. If a restoration has been damaged for any reason, a new one can be fabricated quickly using existing data. If a long time has passed since the installation of the first restoration, the scanning and modeling procedures for the new restoration should be repeated.
We hope you found this article informative. Until next time.

